How to Prep a House for Painting Interior: 7 Steps to Follow
Painting the interior of your house is an excellent way to give your space a fresh and updated look while also adding value to your property. However, before you start painting, it’s essential to prepare your space properly.
Prepping your house for interior painting requires a systematic approach that involves planning the project and gathering necessary supplies to ensure a smooth and efficient process.
Removing furniture and fixtures, protecting the floorings, and patching and sanding surfaces are all crucial steps in creating a clean and professional-looking paint job. We will discuss all the necessary steps in detail so you can confidently tackle your interior painting project.
How to Prep a House for Painting Interior: Step-By-Step Guide
To prep your house for interior painting, you need to follow these steps:
- Plan and take the necessary tools and supplies
- Remove the furniture and fixtures
- Protect floor coverings
- Patch and sand the surfaces
- Clean the surfaces
- Attach painter’s tape
- Prime the surfaces
Now, check out each step of our comprehensive guide to preparing your house for interior painting.
Step 1: Plan and Take the Necessary Tools and Supplies
To ready a house for an interior house painting project, initiate the process by meticulously planning and gathering essential tools and supplies.
Ensure you have a putty knife, lightweight spackling compound, painter’s tape, drop cloths, a ladder or scaffold, cleaning supplies, and primer if deemed necessary.
Step 2: Remove the Furniture and Fixtures
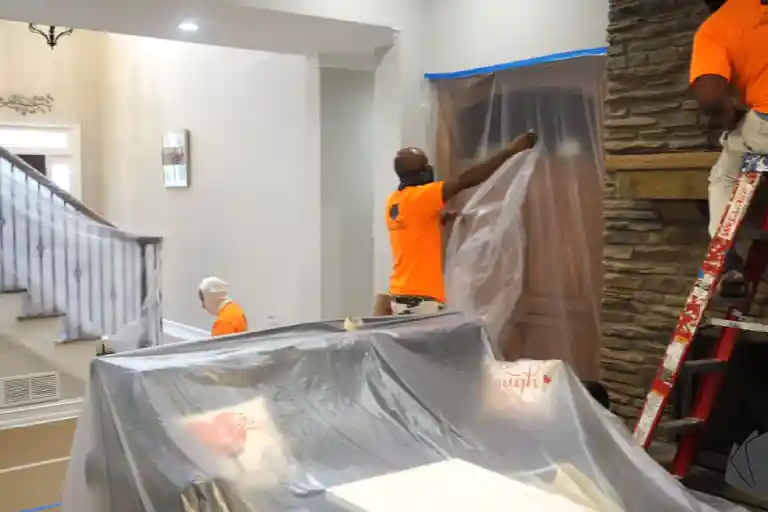
Once you have your tools and supplies, remove all furniture, lights, blinds, HVAC registers, and outlet covers from the room. Take care to move larger furniture away from walls to prevent damage or paint outlines.
Protect the remaining furniture with painter’s plastic to shield it from paint drips. Removing light switches and outlet covers also ensures a neater paint job and prevents the paint from getting on the outlets.
Step 3: Protect Floor Coverings
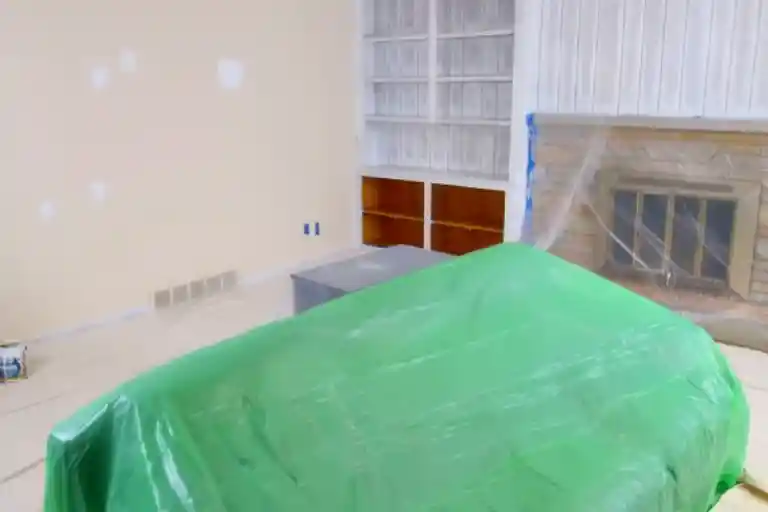
After that, you will need to protect the floor coverings. A canvas drop cloth can effectively prevent paint splatters and spills from damaging the floor.
When laying out the drop cloths, make sure they overlap slightly to create a seamless barrier. Secure the edges with painter’s tape to keep them in place.
Step 4: Patch and Sand the Surfaces
It is necessary to patch and sand the surfaces of your house prior to painting the interior. Inspect the walls for holes, cracks, dents, or flaws. Fill and repair any holes with a spackling compound using a putty knife. Make sure to cover the floors before patching to avoid damage to the carpet.
Once the patches are dry, sand all the surfaces that you wish to paint to achieve a smooth finish. You can use a sanding block or sandpaper to smooth out the patches, removing rough edges or high spots.
Step 5: Clean the Surfaces
Once you have patched and sanded the surfaces, you should clean the surfaces thoroughly. Use a broom and vacuum to remove any dust, cobwebs, or debris on the walls and ceilings. Then, wipe down the surfaces with a damp cloth to remove any remaining dust and dirt. Wait until the surfaces are completely dry.
Step 6: Attach Painter’s Tape
Now, attach the painter’s tape to create a clean and defined line between the wall and trim surfaces. Start by selecting a high-quality painter’s tape that’s specifically designed for delicate surfaces.
Carefully place the tape along the edges where the wall and trim meet, pressing it firmly to create a tight seal. Be mindful of any areas that shouldn’t be painted, such as windows, door frames, or baseboards, and tape them off as well.
Step 7: Prime the Surfaces
To properly prepare your house for painting the interior, it’s essential to prime the surfaces before applying the paint. Priming creates a smooth surface that allows the paint to adhere better and ensures a more durable finish.
While not always necessary, it’s particularly important for porous surfaces or when transitioning from dark to light colors. Applying the primer with a high-quality brush or roller will ensure the best coverage and durability.
A professional painting company generally uses advanced priming techniques and high-quality products to achieve superior results. If you’re short on time or not confident in your painting abilities, it’s probably best to hire a professional painting service to handle the job.
How much time does it typically take to prepare a house for painting?
Preparing a typical house for painting requires a full day of work, which involves thoroughly protecting non-painted items, completing the priming process, and essential surface preparation. This timeframe may vary if there are extensive repairs or the previous paint has deteriorated.
To accurately estimate the time required for preparation, it’s best to assess the condition of the surfaces beforehand. Doing so lets you plan accordingly and ensure the preparation phase is effectively completed before the painting begins.
What’s the best order to paint a house after you prep the interior?
After completing the interior preparation for residential painting, the best order to follow is to start with the ceilings, move on to the trim, and finally, paint the walls.
Begin by cutting in along the edges of the ceiling with a brush, then use a roller for the larger areas. Once the ceiling is done, move on to the trim, applying painter’s tape for clean lines.
Paint the baseboards, door frames, and any other trim elements. Lastly, tackle the walls, working from top to bottom. This order ensures a seamless and efficient process, allowing you to achieve a professional finish in your interior painting project.
Correctly Prepare Your House for Interior Painting and Achieve Professional Results
Preparing your house for interior painting is a meticulous process that involves thoughtful planning and systematic execution. Gather your essential tools and supplies, protect your furniture and fixtures, patch and sand surfaces for a professional finish, and clean diligently for optimal paint adhesion.
Use painter’s tape for clean lines, and consider priming for a smoother, more durable outcome. If the task seems daunting, don’t hesitate to consult a professional painting company for expert assistance.
AR Professional Painting Services is the most reliable painting company, operating for more than a decade in residential and commercial painting in Victoria. You can call 0478 056 572 to get in touch for expert guidance and impeccable painting services that meet your needs.
 Previous Post
 Next Post